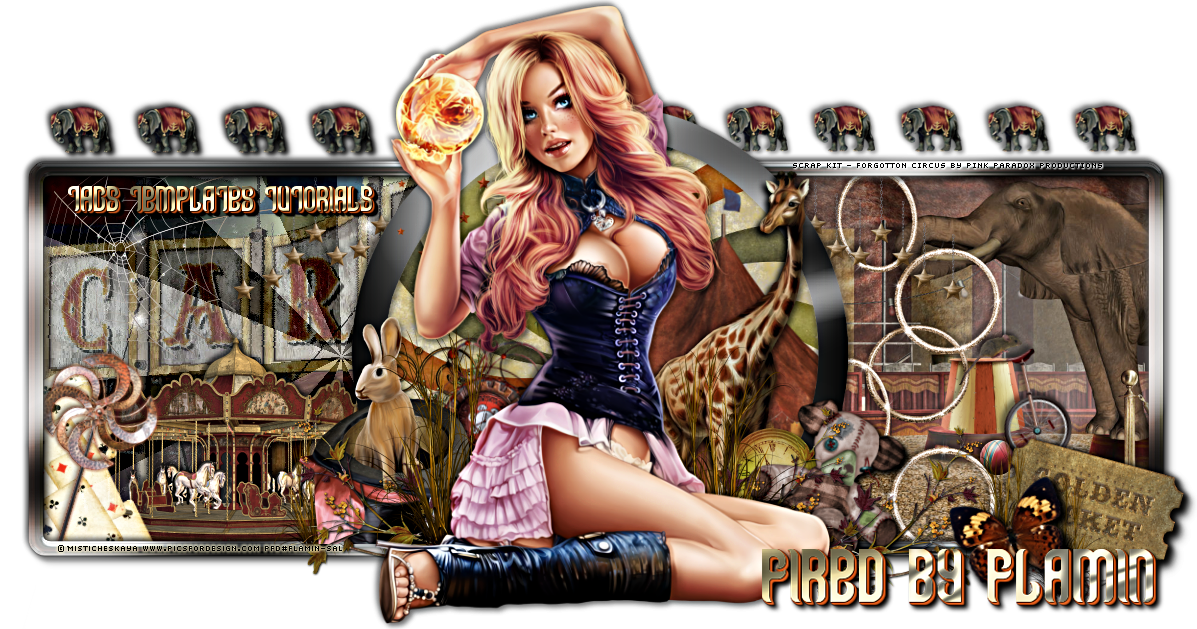
This tutorial was written by myself. This tag is my own idea and creation.
Any similarity to any other tutorial or tag is co incidental.
Please read my tutorial basics (located top left sidebar) before you begin.
Supplies Needed
Beautiful Ftu scrapkit ' Lost Paradise 2' from Graphics of Fantasy
Tube is Florence by VeryManyTubes.com
You must obtain a licence prior to purchasing these images.
Filters Used
Mura's copies - Encircle
Tramages - Mo Jellyfish
Open a new image 700x700.
C/paste Frame 3 from kit resized to 70%.
Using magic wand click inside frame to float the inner.
Selections - Modify - Expand by 5.
C/paste paper from kit. I used Paper 1 resized to 70%.
Move paper below frame in layer palette.
Go back to Selections...Invert and delete.
Select none.
Go back to your frame. Apply filter Tramages - Mo Jellyfish (settings below).
D/shadow and merge down with paper layer.
Copy/paste element 64 Pink lillies as a new layer. Resize to 50%.
Apply filter Mura's Copies - Encircle (settings below).
Move this layer below frame in layer palette and lower opacity to 85.
C/paste element 53 Ferns. D/shadow and move below frame above Lillies.
Above the Frame layer C/paste element 36 Burst resized to 90%.
Now add your tube to the image. Position centrally above the frame and d/shadow.
We can now continue to add desired elements from the kit to our design.
D/shadow as you go. I used...
Element 43 Floral Swag resized to 80%. Rotate right 95 degrees. Position bottom right of image behind tube layer. Duplicate and mirror copy to the left.
Element 53 Ferns resized to 40%. Position bottom far left behind floral Swag. Duplicate mirror copy to right.
Element 3 Fern Leaf resized to 35%. Rotate left by 120 degrees. Position bottom left behind floral swag. Duplicate mirror copy to the right.
Element 42 Sand. Place along bottom of image behind all other layers.
Element 54 Insect resized to 30%. Top right of frame behind tube.
Element 1 Starfish Swag resized to 60%. Left of image behind tube and Floral Swag.
Element 40 Shell resized to 30%. Position behind Starfish Swag on the left.
Element 70 Jar resized to 40%. Right of image behind tube and Floral Swag.
Element 68 Water drops resized to 40%. Position on right above Jar / Floral Swag layers behind tube.
Element 51 Plant resized to 30%. Position on right behind the Jar. Duplicate and mirror copy to left above Shell.
Merge all layers. Crop/re size to your liking. I usually sharpen at this point rather than each separate element as I go along. Adjust - Sharpness - Unsharp Mask 5.0 - 30 -5.
Add name and relevant artist copyright and tube licence info.
Save as Png.
Thank you for stopping by and trying this tutorial. I hope you are pleased with your tag. Sal xoxo
Add name and relevant artist copyright and tube licence info.
Save as Png.
Thank you for stopping by and trying this tutorial. I hope you are pleased with your tag. Sal xoxo


No comments:
Post a Comment